Sara Golden Jewelry

Cleaning

Brass Jewelry and that "Green Shadow"

Jewelry CareSara GoldenComment

I love brass with its deep golden color and its hefty, solid weight. If you prefer wearing gold tones to silver ones (🙋🏻‍♀️), brass lets you indulge in fun, statement-making jewelry without mortgaging your house (unless you’re Elizabeth Taylor, of course).

But every metal has its dark side — sterling silver tarnishes crazy fast, high karat golds get more red in tone in a way I don’t love, and wearing brass can leave a “green shadow” on your skin.

Tips for Cleaning Brass Jewelry

Jewelry CareSara GoldenComment
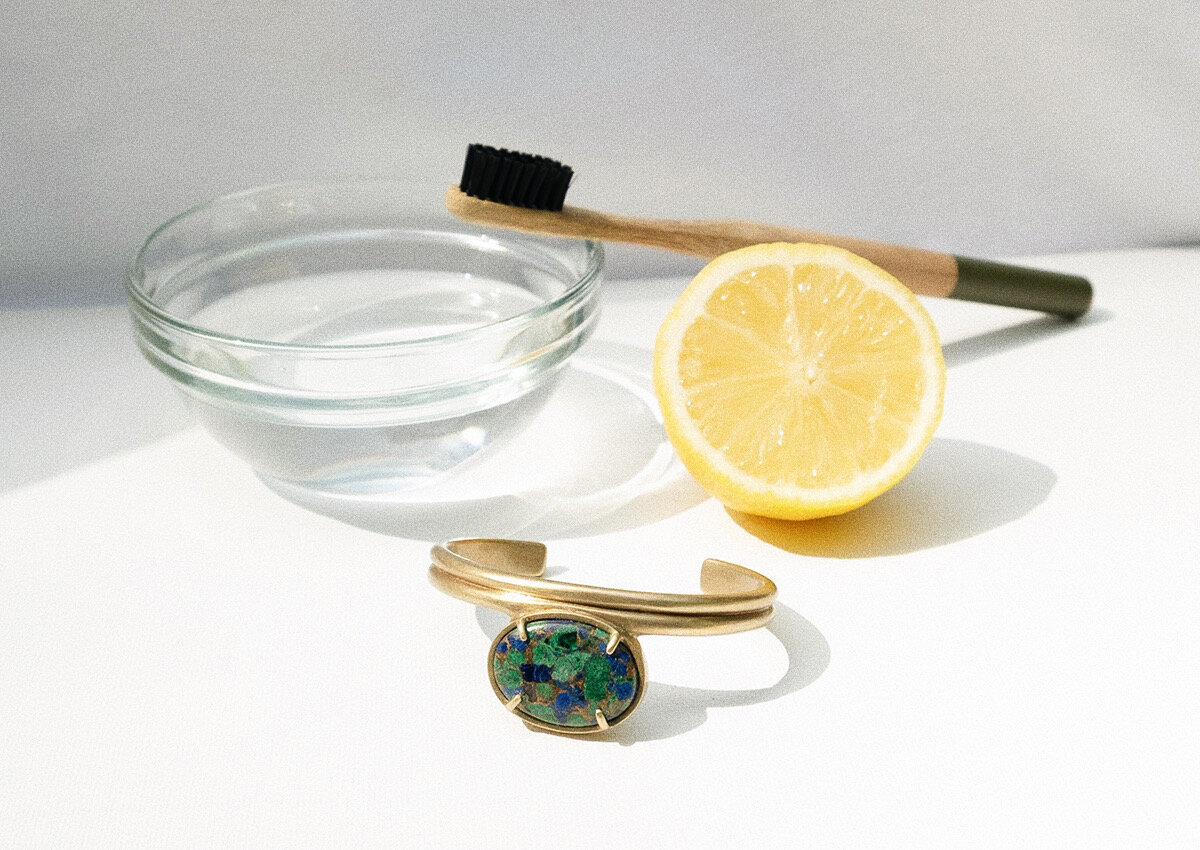
What’s with the lemon, you ask? Read on to find out.

What’s with the lemon, you ask? Read on to find out.

With its deep gold color and substantial weight, brass is a wonderful metal to use in jewelry, and I’m so glad to see more designers and jewelry lovers embracing it. Though I’ve heard people worry about how it might tarnish or wear over time, it’s actually pretty easy to keep clean and looking like new.

Below are my recommendations for the best ways to clean brass jewelry, from a light clean to a deep one.

Before you start:

  • For any cleaning, regardless of the metal, start with the least abrasive method first and working your way up. Lots of tarnish or build-up can be easily removed with just a microfiber cloth, or a soft-bristled toothbrush and soapy water. Why risk ruining a stone or leaving extra scratches if you don’t have to?

  • Does your piece have stones in it? Avoid using abrasives that could scratch them. Stones like pearl, opal, and turquoise are especially delicate — they’re super soft and can even absorb liquids. For those, stick with the most gentle cleaning you can.

  • With brass especially, make sure you dry the piece completely once you’ve rinsed it clean. Wet spots on brass will turn dark and need to be cleaned again.

Most Gentle Method:

Use a microfiber cloth, like the kind you’d use to clean your sunglasses, to rub away dirt. To get into the nooks and crannies, use a soft-bristled toothbrush to gently brush away any build-up. Anything with more texture could scratch delicate stones.

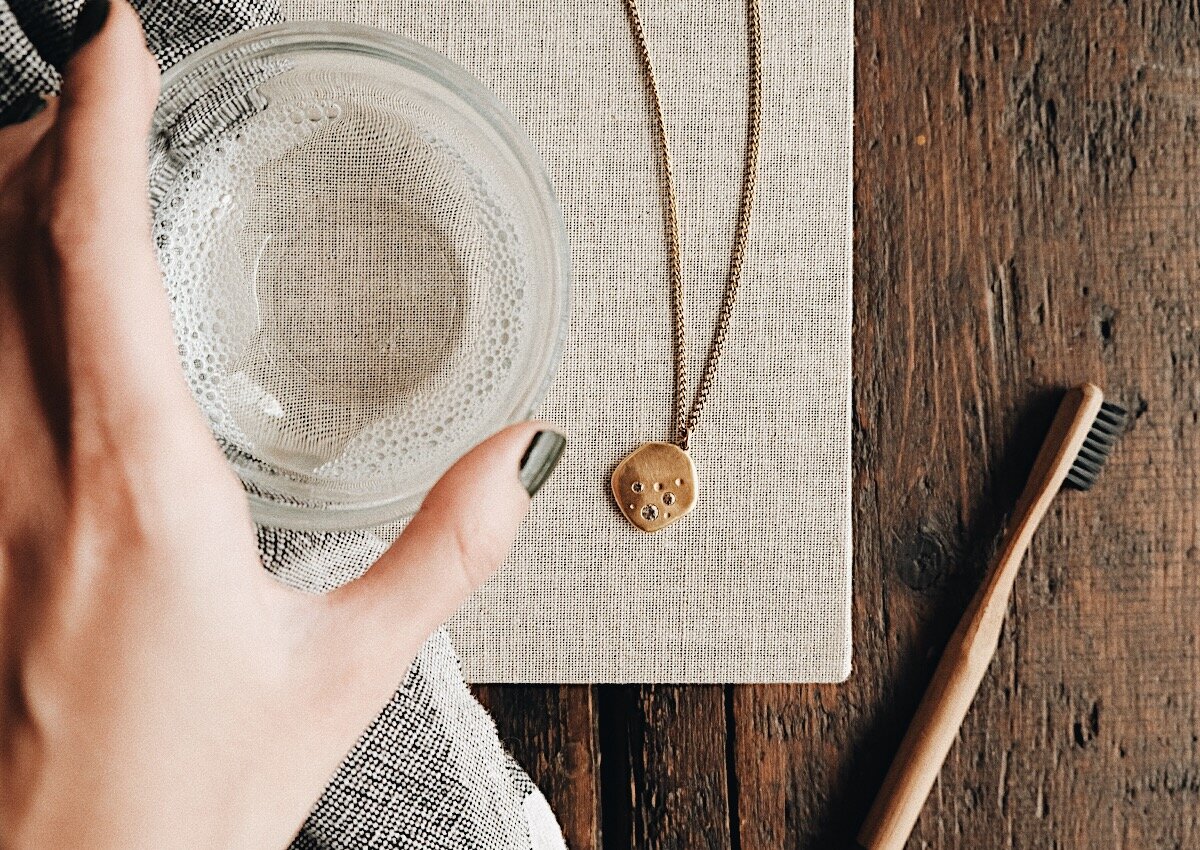
If that’s not quite working, put a few squirts of a gentle, chemical-free dish soap in lukewarm water. Soak the toothbrush in that mixture and scrub a bit harder. Be sure to rinse it in soap-free water and dry it completely with a lint-free cloth (I like how thin but absorbent Turkish towels are).

Gentle Method (for Stone-Free Jewelry):

Mix together 1 cup of water, 1-1/2 tbsp of lemon juice (or half a lemon), and 1 tsp of salt in a small bowl. Brush away any visible dirt or build-up on your jewelry with a soft-bristled toothbrush, and then let your piece soak in this lemon mixture for 15-30 minutes. Once it’s clean rinse it in lukewarm water and dry it completely with a soft cloth, like a Turkish towel.

Gentle Method (for Jewelry with Stones):

Mix together 1 tbsp of lemon juice —a little less than half a lemon— and 4-5 tbsp of baking soda in a medium-ish bowl (the baking soda will fizz and overflow in a too-small bowl). You’re looking for a wet paste consistency, so add more baking soda if it’s looking a little thin. Scrub your piece with this mixture, making sure to avoid the stones as much as possible.

If your piece has opals or pearls, just avoid this method entirely and stick with the soapy water from the “Most Gentle” method.

Once your piece is clean again, run it under lukewarm water and dry it completely.

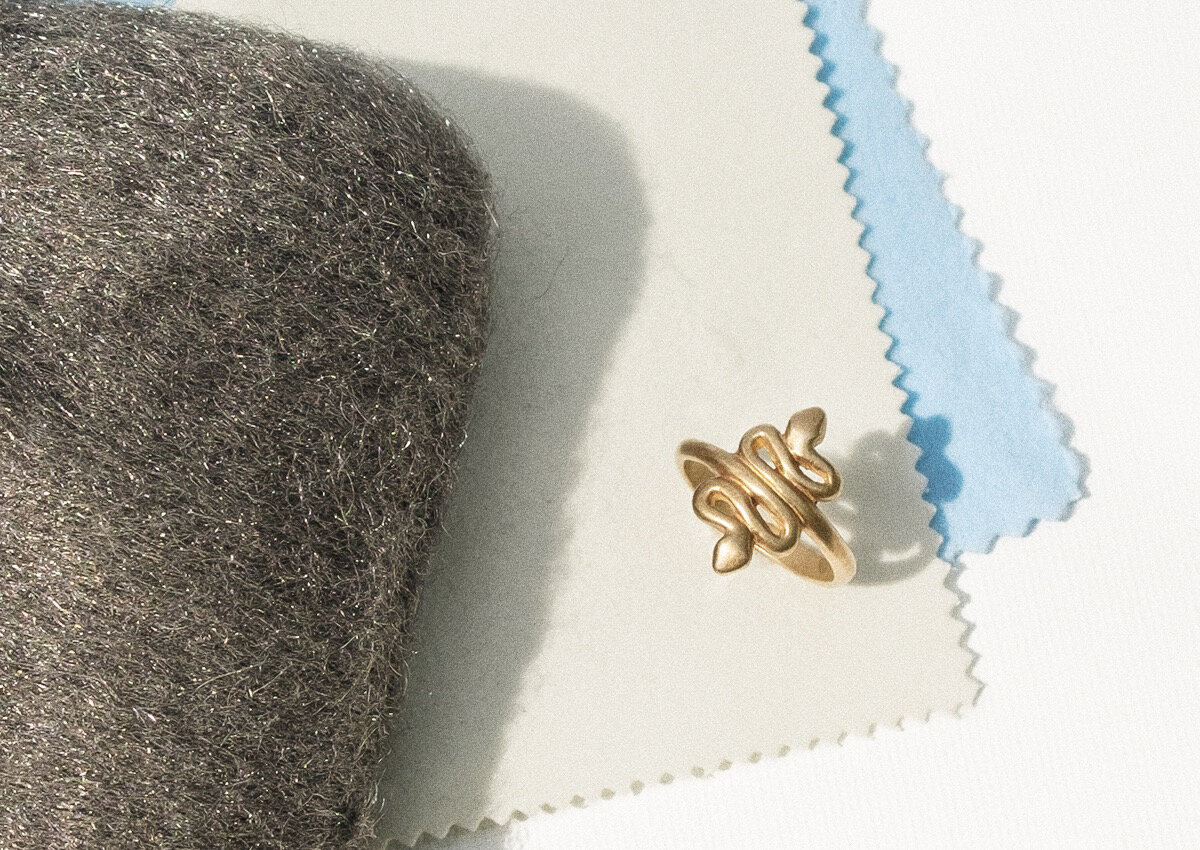
Polishing cloths and steel wool are great for your jewelry cleaning tool kit.

Polishing cloths and steel wool are great for your jewelry cleaning tool kit.

Most Abrasive Method:

Use a chemical-free jewelry polishing cloth, like a blue Sunshine cloth, to gently buff away the dirt. If your piece has a matte finish, lightly rub in circles to avoid creating a random shiny spot. If it’s got a brushed finish, gently rub in the direction of the grain. Once the polishing cloth starts turning black you’ll want to use a fresh section; that means it’s doing its job and you’ve used up the abrasives on that part.

If that’s still not doing the trick, you can get more aggressive with a fine-grit chunk of steel wool. Don’t use steel wool on shiny metal! It will absolutely mark up your jewelry, but the texture of it works with matte and satin finishes. And be sure to avoid hitting any stones with it, too.

If it’s a high shine piece you can use a slightly more abrasive polishing cloth, like the yellow Sunshine cloth. But again, don’t use steel wool on shiny metal.

Bonus: Sealing Your Brass

Now that your brass is clean and golden again, you might consider sealing it to stave off tarnish. Sealing is only a temporary solve since it will eventually wear away, but it can keep your jewelry looking fresher longer.

If you don’t mind a shiny finish, you can coat small pieces in a thin layer of clear nail polish. I personally like to use Renaissance Wax — put it on in thin coats, let it set for 5 minutes, and then buff it to the shininess you like with an old rag or t-shirt. It’s a museum-grade sealant that many professional jewelers use on all their pieces.


These methods should get your brass looking as good as new! This beautiful metal can last just as long as your favorite solid gold pieces with just a bit of love. Give these methods a shot and let me know in the comments below how it turned out for you!

Your jewelry care kit

Jewelry CareSara GoldenComment
Jewelry Care Kit.jpg

Don’t let a bent ear wire or small smudges get in the way of you wearing your favorite jewelry. With just a few basic “tools,” you can put together your own emergency care kit and fix your jewelry right up.

YOU’LL NEED:

  • 1 flat-nose plier

  • Spare earring backs

  • Lint-free eyeglass cloth wipe (for gold plated jewelry) and a regular polishing cloth (for solid gold and silver jewelry)

  • Small cloth bags

I find that earring backs love to go missing because they’re so small, and having spares means you don’t have to swap them out every time you want to wear a new pair. After recently losing a few myself, I added a few different kinds to the shop.

Prong-straightening.gif

Why flat-nose pliers? Lots of earring posts (including on most of my earrings) are made of sterling silver, a pretty soft metal that can bend easily. To straighten a bent post, you can use those flat-nose pliers to very gently close the whole post between the jaws of the pliers. Open up the pliers, slightly rotate the earring, and close the pliers again. Repeat this a few times and the post will straighten out.

Cloth wipes are great for cleaning up any surface dirt on your jewelry. I recommend an eyeglass cloth for plated jewelry, since it’s soft enough not to scratch through the plating. Regular polishing cloths, meanwhile, are best for solid silver and gold. For both kinds I recommend gently rubbing in a circular motion; rubbing too hard and in just one direction can create a shiny patch of metal.

Lastly, pick up a few small cloth bags for storing your pieces. Cloth bags, like the black velveteen ones I include with all my jewelry, are a great way to keep your jewelry together and to prevent scratching. Ideally, every piece of jewelry gets its own bag, or even better, upgrade to a cute monogrammed case like this one.

These few items, stowed away in a bathroom cabinet or in your travel bag, will get your jewelry looking great again in no time.

Tips for cleaning gold plated jewelry

Jewelry CareSara GoldenComment
Cleaning Gold Plated Jewelry.JPG

I know what it’s like to fall in love with jewelry that’s plated, and wanting to keep it looking good so you can wear it forever and ever. Cleaning gold plated jewelry, though, is a little different from cleaning solid sterling silver or solid gold. Because there’s a different metal underneath all that gold (brass, in our case), you’ll want to be a little more gentle.

Below I’ve assembled my top tips for cleaning gold plated jewelry and keeping it looking like new:

YOUR TOOL KIT:

  • A small bottle filled with a gentle, chemical-free liquid soap like Dawn or Dr. Bronner’s

  • A soft-bristled toothbrush

  • A small towel (I prefer thin Turkish towels to thicker terry towels)

  • A microfiber lens cloth (like what you’d use for cleaning eye glasses)

OTHER SUPPLIES:

  • A small bowl or cup

  • Lukewarm water

  • Seltzer (optional)

WAIT, DOES YOUR JEWELRY HAVE STONES IN IT?

Pearls and opals are super delicate and can absorb liquids they come in contact with, so avoid submerging them in anything, even water. Clean around them, covering them with your finger if you can. Hard stones like diamonds, sapphires, and rubies can withstand tough cleaning, but chemicals and off-the-shelf jewelry cleaners can mess with other stones. I prefer to play it safe and avoid anything but water and gentle liquid soap for all other stones. 

NOW ONTO THE CLEANING:

  1. If your jewelry needs a slight buff, grab that microfiber lens cloth and give it a gentle, circular rub. That’ll help get rid of most smudges and fingerprints. You can also use that soft-bristled toothbrush to brush away any dirt that has built up behind stones or on jump rings. Jewelry tends to get gunky where different parts rub together, and the toothbrush is perfect for getting into nooks and crannies.

  2. If it needs a light clean, mix lukewarm water in a bowl with a squirt of the gentle dishwashing liquid, and use the soft-bristled toothbrush to scrub away the dirt. You can also use seltzer water for jewelry with stones in it, as the bubbles can help carry away dirt in the settings. Give it a final rinse with clean water and dry it completely with the towel. Leaving water sitting on the surface of your jewelry can lead to dark spots, and Turkish towels fit into tighter spaces well for drying. For extra points, leave the jewelry in a safe, warm place for 10 minutes to finish drying out; in the winter I’ll put it near our stove fireplace, and in the summer I’ll put it on a sunny spot on our table outside).

  3. Stay away from both chemical cleaners AND polishing cloths. Chemical cleaners can react with the plating and corrode it, while polishing cloths can be too abrasive, and when rubbed too hard, can cause shiny spots in matte finishes or even wear through the plating.

AND HOW TO MAINTAIN IT:

  1. Chemicals are not your friend, so take off your jewelry before swimming, showering, or washing your hands. There are chemicals lurking in pool water, your shower gels, and hand soaps that can turn plating funny colors or break down plating faster. Keep a jewelry dish by your sink so you don’t lose rings when taking them off.

  2. Oils and sweat can also lead to faster tarnishing, so take off your jewelry before hitting the gym, and put your jewelry on a few minutes after applying lotion or perfume. I like packing a small cloth bag in my gym bag so my jewelry stays safe and won’t get lost. I will also put my jewelry on last, especially if it has pearls or opals in it (which are notoriously delicate).

  3. Hang necklaces to prevent tangling. Find a necklace stand you’d be excited to display vs. something you’ll want to hide behind a cabinet door. If you can’t see your jewelry you’ll forget you have it, and your jewelry is begging to be worn!

  4. Stash jewelry in dust bags when you can, especially when you travel. It prevents pieces from scuffing each other or scratching off the plating. 

  5. Give your jewelry stash an occasional dusting with your microfiber lens cloth. It’ll keep dust away, especially if it’s a piece you don’t wear often. 


I hope these tips help keep your favorite pieces looking better for even longer. Are there any other cleaning tips you’d swear by? Leave them in the comments!