
My earliest sketches for the “Royal Mines” collection.
Something I’m finally coming to terms with is how long it takes me to put together an entire collection and get it out into the world. Let me explain…
Though I started learning how to make jewelry back in college, I didn’t really dive into jewelry-making until years later, designing for big companies in New York City like J. Crew, Kate Spade, and C. Wonder. When I finally started making jewelry for myself I was still in a “big company” mentality: take a theme and design your brains out; sketch every possible iteration in the form of necklaces, earrings, rings, and bracelets; send the designs to a factory abroad to make; pick through those samples and decide what’s good to go, what needs revisions, and what gets dropped. We’d sketch anywhere from 150-300 styles per season and land on 80-100 that would go into stores.
When I started making things for myself, it became clear pretty quickly that the way I was used to working just couldn’t be scaled down to a 1-person team. (Correction: it was instantly clear to my husband, Zach; it took me 5 years to get on board). I *loved* designing all those different pieces, bringing a concept fully to life through a wide range of styles. But when you’re the only one sketching, working out the details, sourcing the materials, fabricating every idea, making the pieces to sell, setting the stones, aaaaaand juggling all the business-y stuff, things get overwhelming fast.
But since accepting that I can’t do all the things, I’ve come to some beautiful realizations that wouldn’t be possible otherwise: I can focus on fewer, more special things; I can take the time to get the details right; I can splurge on special or unique stones; and, in this increasingly digital world, I end up with a physical object that I’m proud to have made with my own two hands. Extra points if that object brings joy to someone else, too.

Working out ring details early in the design process with the help of my friend’s cat, Blue.

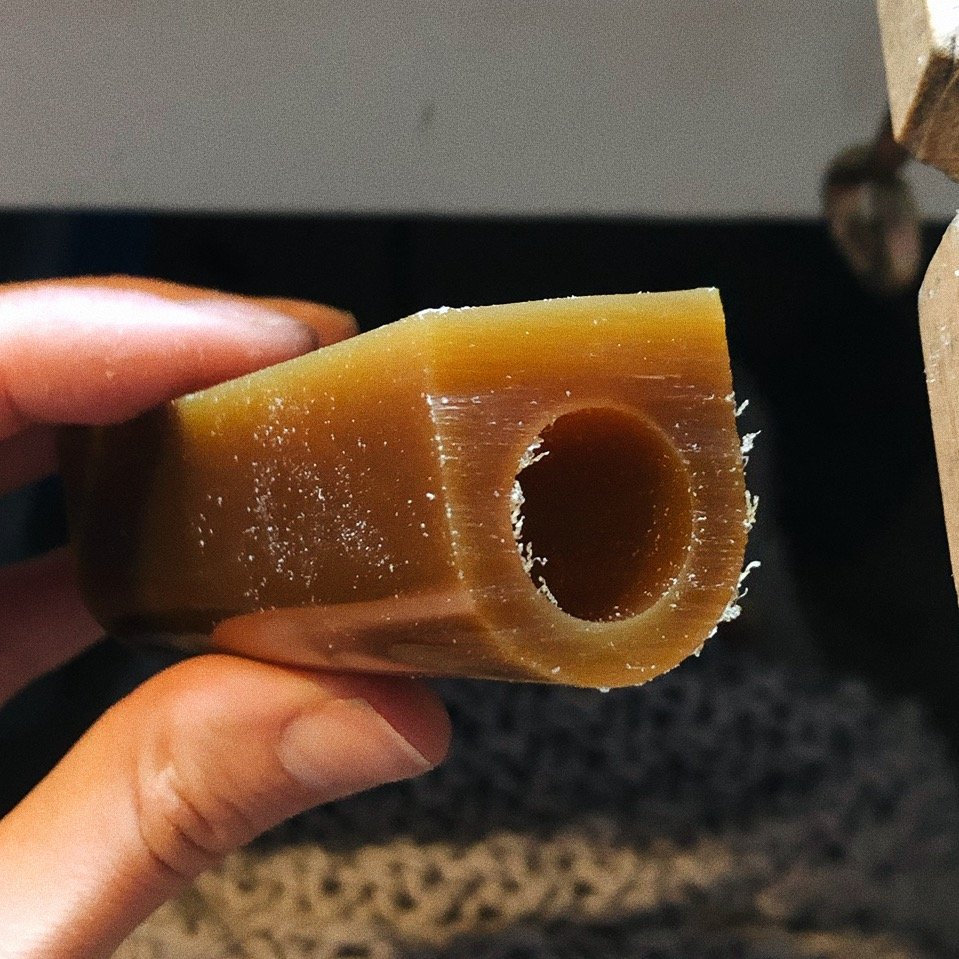
Early versions of the Pharos Ring.
Knowing that there are only so many hours in my week, I’m forced to edit down all the ideas to only those that I’m the most excited about. (“What a burden!” she cried sarcastically.) When you have to fill dozens or even hundreds of stores with new jewelry every few months, it becomes more about quantity than quality. How could anything feel special when you’re churning through hundreds of designs every few months at big companies? Now, I get to tweak and edit something until it’s the best version of itself.
Plus, the jewelry in every store would need to look exactly the same, which meant we’d have to use lots of synthetic materials, devoid of the things that make natural stones so unique and interesting. Forget about finding a stone that you like and making just one of something, too; at bigger stores, you’re making 100 at a time or you’re not making it at all.
And I love, love, love that at the end of the day (or rather, few months or even a year) I can hold something in my hands that I made from start to finish. So much labor, creative brainstorming, material sourcing, trial and error, and even frustration go into making each piece, and it’s so rewarding to be able to say I did it all myself.
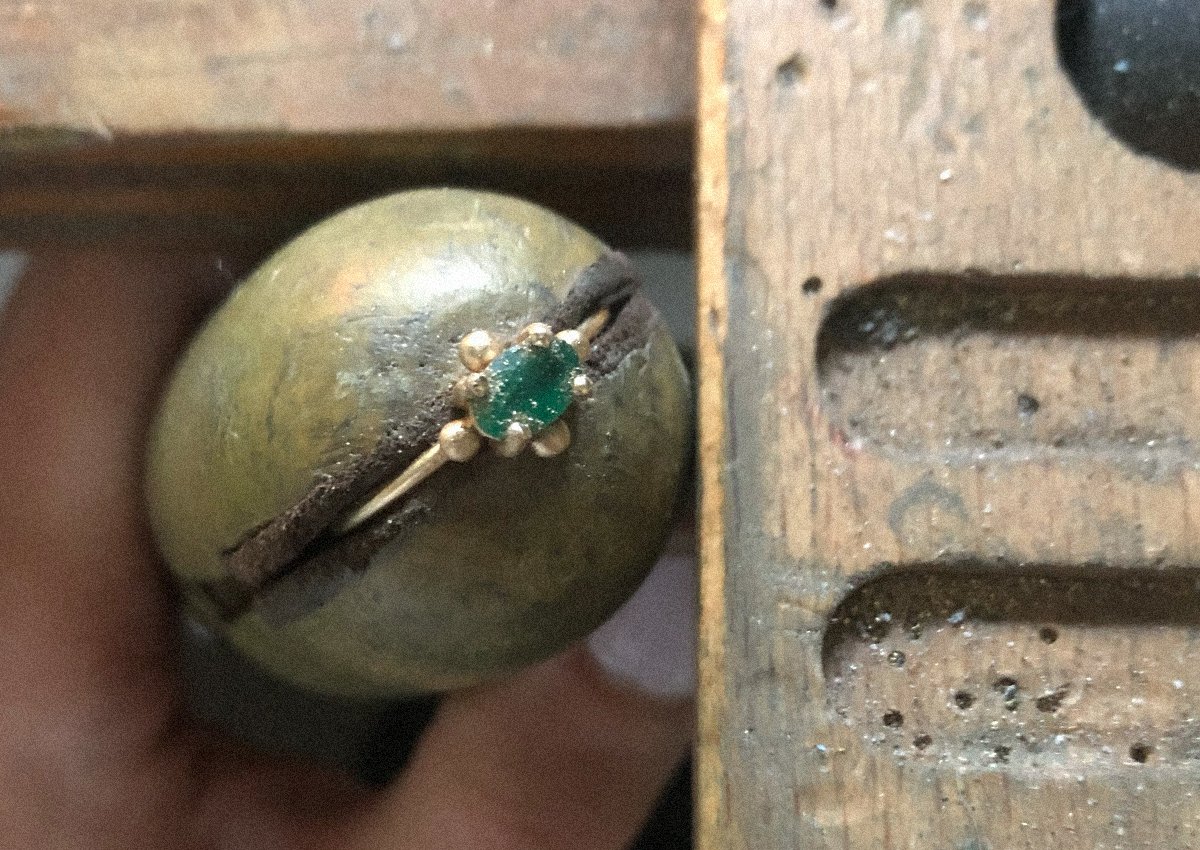
At my bench setting the emerald and getting those prongs looking 💯
This was certainly not meant to be a diatribe against jewelry companies that outsource their jewelry-making to companies overseas — it’s just me realizing after way too long that I’m *not* a 200 person company, and that there are really special things that can happen when you embrace that. And if you appreciate all those same things, I’m so glad we found each other.